WELCOME TO SOURDOUGH BAKING!
Just like cloth diapering, making sourdough bread doesn’t have to be overly complicated. When you have the right tools and instruction it can be fun, easy and so satisfying.
Below you will find our tested and proven sourdough method.

TOOLS OF THE TRADE
Here's what you’ll need to bake sourdough bread:
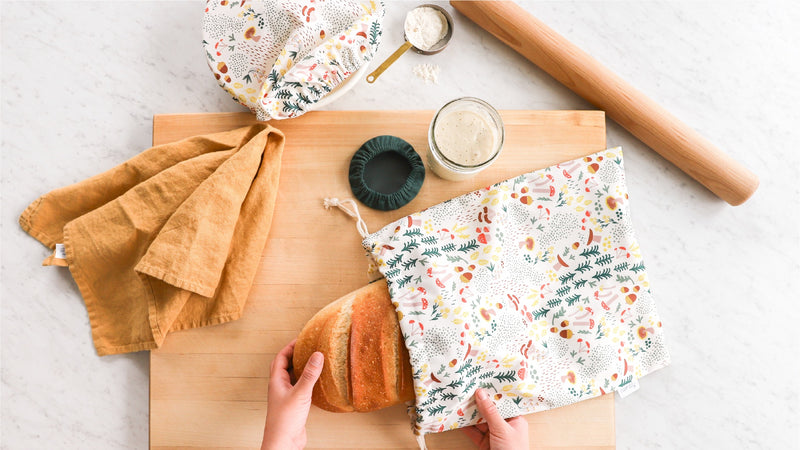
- Esembly Sourdough Set
- Active, healthy sourdough starter (see below)
- 32 oz wide mouth mason jar (to house your starter)
- Large stainless, ceramic or glass mixing bowl (approx 4 Qts)
- Parchment paper
- Large dutch oven (6-9 Qts)
- 2 sourdough proofing baskets OR
- 2 medium sized mixing bowls
- Measuring cups
- Bench knife (optional but ideal)
- Kitchen scale (optional but ideal)
GETTING STARTED WITH STARTER
Our favorite way to get sourdough starter is from a friend or local bread baker. Ask around to see if anyone in your community has any to share!
If not, HERE are instructions for making your own sourdough starter
from scratch.
CARING FOR YOUR NEW PET
Here are instructions for storing and feeding sourdough starter so it stays alive and healthy.
SOURDOUGH STARTER STORAGE:
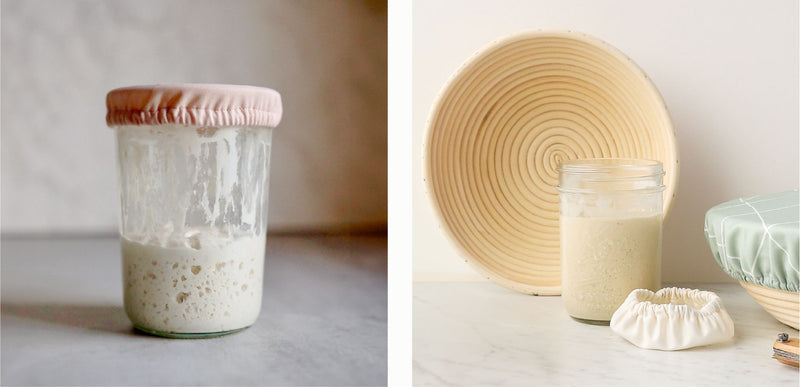
Keep your starter in a 32 oz wide mouth Mason Jar with and cover it with the small cap* from your Esembly Sourdough Set.
If you plan to use your starter regularly, keep it on your countertop and feed it daily. It likes to be toasty when it eats, so keep it away from any chilly drafts. If you don't plan to use it for a little while just give it a good feed and put it "to sleep" in the fridge for up to a month.
*Esembly caps are ideal for covering starter because starter gets a bit gassy when it eats and if you use a lid that seals you run the risk of an exploding jar!
FEEDING YOUR SOURDOUGH STARTER:
1. Remove the Esembly cap and discard some of the starter you have in your jar. You can do this by giving some away, using it for bread, pancakes or pizza dough (recipes below), or (sniff, sniff) pouring some in the trash. You want to leave approx 1/4 cup starter in the jar.
2. Then add approx 1/3 cup unbleached all purpose flour and approx 1/4 cup of warm water to your jar.
3. Stir well with a fork to break up the clumps as best you can and cover with the cap.
5. Feed your starter every 24-36 hours when it’s at room temp.
6. If your starter is waking up after a snooze in the fridge, do 2 regular feeding cycles before using it to bake bread.
BASIC SOURDOUGH BREAD RECIPE
THE ESEMBLY BOULE
INGREDIENTS
700 grams (3 cups) plus 50 grams (1/4 cup) warm water
200 grams ( 1 cup) bubbly active starter
900 grams (5 cups) unbleached all purpose flour
100 grams ( 1 cup) rye, oat, or whole wheat flour*
20 grams ( 1.5 Tablespoons) sea salt
*You can use unbleached all purpose flour if that's all you have but your dough will thank you if you use the recommended blend.
Don’t forget! Sourdough baking requires a bit of planning. Be sure to feed your starter approx 8-10 hours before you plan to make bread.
MIXING
1. In large mixing bowl add 700 grams (3 cups) of warm water and 200 grams (1 cup) of active starter and stir together
2 . Add all 1000 grams (6 cups) of flour and mix by hand until you do not see any more dry bits of flour
3. Let rest for 20-45 minutes (do not be tempted to skip this step!)
4. After the dough has rested, dissolve 20 grams (1.5 TBS) of salt with 50 grams (¼ cup) of warm water in a separate bowl or cup and then add the salt/water mixture to the dough. Incorporate well by squeezing the dough and the salty water through your fingers until they become one.
RISING
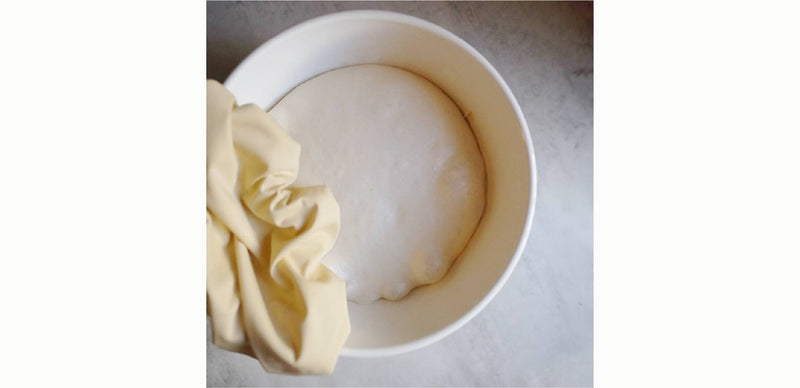
5. Cover your dough with the large Esembly cap from your Sourdough Set and begin your bulk rise. The dough needs to rise for approx 3-4 hours with gentle kneading every 30 minutes. It sounds like a lot, but it's not. The kneading takes place inside the bowl by doing a series of "turns". Super easy (and even fun!).
6. To do a "turn", simply wet your hand with warm water to prevent the dough from sticking to your skin. Reach down and grab the underside of the dough, stretch it up and fold it over the top. Turn the bowl 1/4 way around and do it again! Repeat until you've reached, stretched and folded all 4 sides of the dough. That is considered 1 "turn" and you will want to do that every 30 minutes for the 3-4 hours that the dough is bulk rising. You'll notice in the last 1-2 hours that the dough will become puffy and filled with gas. Handle the dough gently at this time so as not to deflate it too much. In fact, try your best handle the dough gently from this point on in the shaping process. Those gas bubbles that have formed inside the dough are what will give you a light and airy loaf when baking- you don’t want to squash them. Always be sure to cover your dough with the large Esembly cap in between turns. This will prevent your dough from developing a skin on it that will inhibit the rise.
SHAPING
7. When the bulk rise is complete, dump the dough out onto a clean, flat, unfloured work surface and using your bench knife, divide it into 2 equal chunks (no need to get too exact here, just eyeball it).
8. Lightly flour the top of each chunk and using your bench knife, flip them over so the floured side is face down on your work surface. Now fold each chunk in half so that the unfloured sides stick to one another and you're left with only floured sides exposed.
9. Using your bench knife and one hand, work each piece of dough into a round shape. The goal is to get a nice smooth round shape in as few of movements as possible. Then let the 2 dough rounds rest on your work surface for 25-40 minutes (this is called the bench rest). Make sure there are no cold drafts or your dough will develop a dry skin on the surface that will make it harder to work with in the next steps.
10. While your dough is resting, you want to prep your bowls. Line 2 medium sized bowls with parchment paper and lightly flour the parchment.
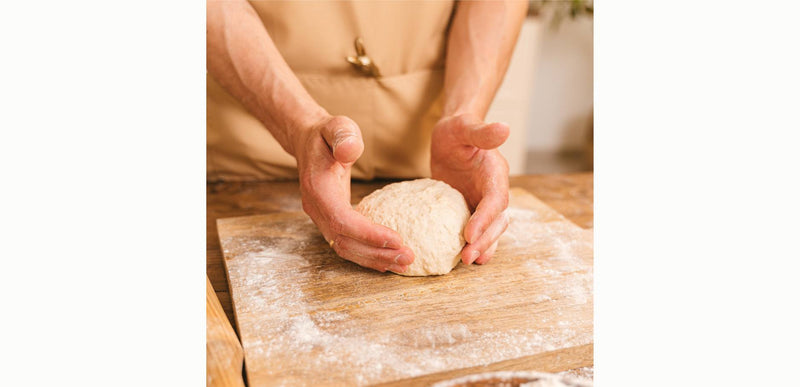
Now you'll do your final shaping and then transfer the doughs to their bowls. To do the final shaping, lightly flour the top of the dough. Then cup your hands around the edge farthest from you and pull the dough closer to you turning it slightly. Continue to do that from different angles until you have a nice smooth surface tension and a firm round ball. If the surface starts to split open that's a sign you are working it too much and need to ease up.
11. Set each bowl in a warm area and let rise for an additional 2-4 hours (the longer it rises the more of that delicious "sour" taste you'll
get in the bread).
BAKING
12. Approx 30 minutes before you are going to bake, place your dutch oven in your oven and set the temp to 500 degrees.
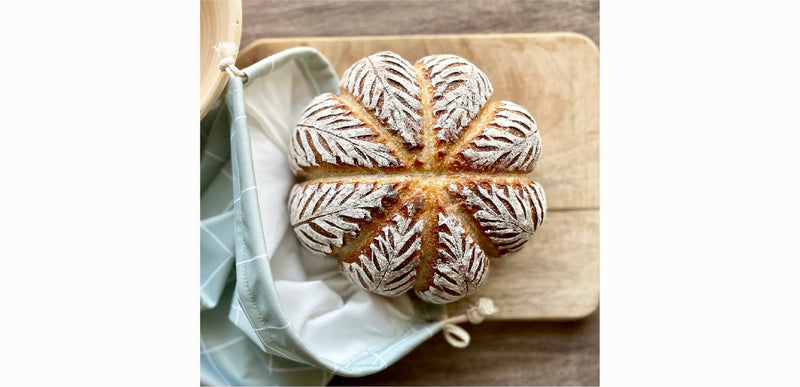
13. You will bake the loaves 1 at a time. Right before you put the first dough in, you want to score the top with a simple X or a box. This will prevent the dough from busting open as it rises. Get as creative as you want here! Lots of on line inspiration if you go digging. Use a bread lame or wet a very sharp knife.
14. Carefully remove the (very hot) dutch oven and quickly take off the lid, gently pick up the parchment paper and scored dough and place the whole thing down in the center of the dutch oven. Put the lid back on and stick it in the oven. Immediately reduce the temp to 450 degrees.
15. Bake with the lid on for 20 minutes.
16. Remove the lid and continue to bake for 20-25 more minutes. Score the second dough so it's ready.
17. Remove the parchment and the first loaf from the dutch oven and set it aside to cool. Stick the second parchment and dough ball into the dutch oven, put the lid back on, place it in the 450 degree oven and repeat the baking steps.
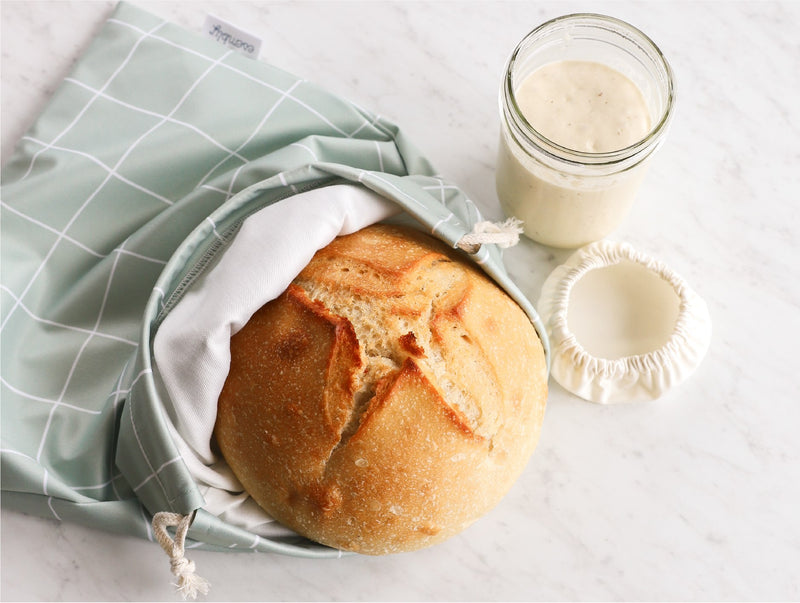
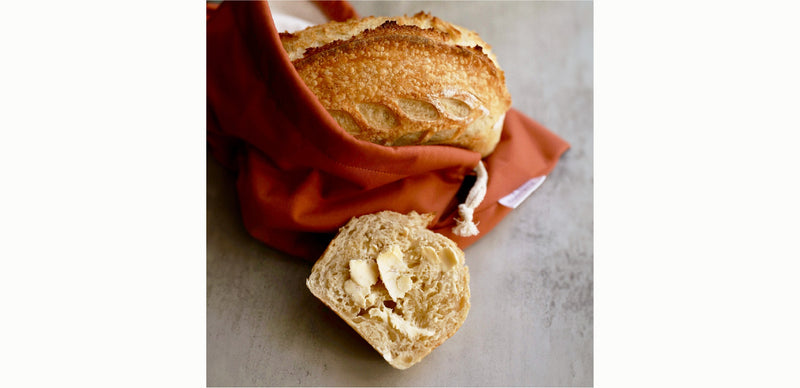
18. We highly recommend slicing that warm bread and eating immediately (there is NOTHING More delicious than fresh-out-of-the-oven sourdough. Store whatever leftover bread you have in your Esembly Sourdough Set bread bag to keep it crispy on the outside and moist on the inside!
RECOMMENDED READING
Our 2 favorite Sourdough Cookbooks are:
Tartine Bread
Sourdough: Recipes for Rustic Fermented Breads
BEYOND THE BREAD
You’ll find that when regularly feeding your Sourdough Starter you end up with lots of discard. Best way to get rid of it is to share it and get all your friends and family members into bread baking! We highly recommend gifting them an Esembly Sourdough Set along with some of your Starter in a Jar.
Some other great ways to get rid of Starter is to use it!
Here are two of our other favorite non-bread Sourdough recipes:
SOURDOUGH PANCAKES
INGREDIENTS:
1/2 cup starter discard
1 cup whole milk
1 2/3 cup unbleached all purpose flour
2 eggs
4 tablespoons melted butter
1/2 teaspoon baking soda
1/2 teaspoon salt
1 teaspoon blackstrap molasses or coconut sugar
Using a fork, combine starter and milk in a medium bowl.
Stir in flour, baking soda, salt and molasses.
Add eggs, mixing well.
Fold in melted butter.
Cook on a greased griddle or frying pan over medium heat. Cook until bubbles appear then flip and continue to cook until a light golden brown.
Serve hot with fresh fruit, syrup and/or butter.
SOURDOUGH PIZZA CRUST
INGREDIENTS:
1 1/2 cups starter discard
1 tablespoon olive oil
1 teaspoon salt
1 1/4 - 1 1/2 cups unbleached all purpose flour
Mix ingredients in a bowl large enough for the dough to rise and double in size.
Cover bowl tightly so no moisture escapes.
Let the dough rise for approx 8 hours.
Preheat oven to 450 degrees.
Flatten dough gently onto a pan to form the pizza crust. Be aware that it will not stretch and give like a standard pizza dough.
Prebake the crust for 3-4 minutes before putting on sauce and toppings.
Dress the crust and bake until cheese is melted and bubbly.

